

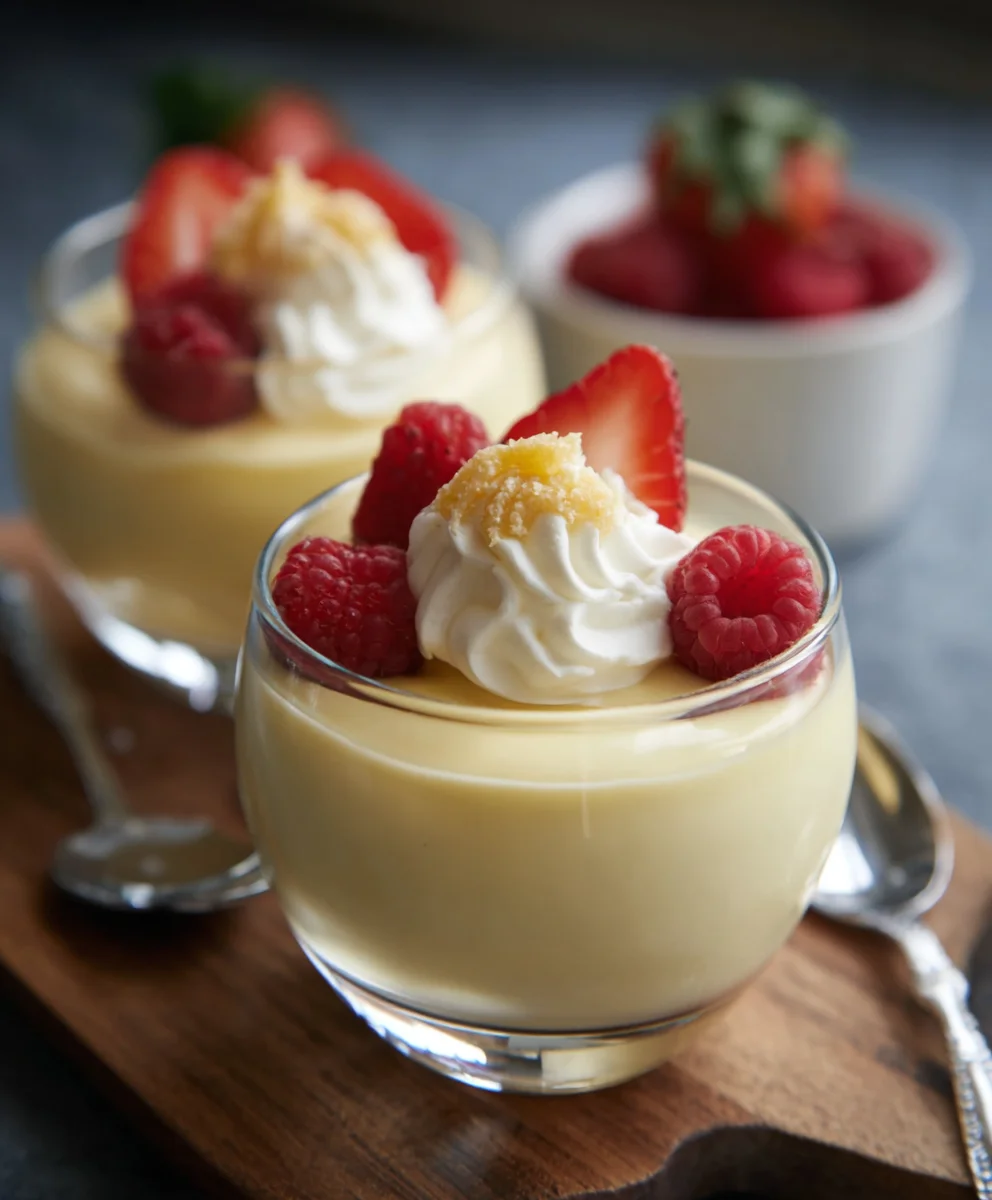
Creamy homemade vanilla pudding recipe: the ultimate comfort food that whispers tnon-alcoholic ales of childhood kitchens and cozy evenings. There’s something undeniably magical about a dessert that can be both incredibly simple to create and profoundly satisfying to eat. This is the dish we crave when we need a hug in a bowl, a sweet escape from the everyday hustle. People adore this pudding for its unbelievably smooth texture and its pure, unadulterated vanilla flavor, a testament to the beauty of quality ingredients treated with care. What truly sets this creamy homemade vanilla pudding recipe apart is its homemade charm; it’s a far cry from the powdery mixes, offering a depth of flavor and a luscious mouthfeel that can only be achieved through patient whisking and a touch of love. Forget store-bought imposters; this creamy homemade vanilla pudding recipe is about to become your go-to for a truly special treat.
Ingredients:
- 2 ½ cups whole milk
- ½ cup granulated sugar
- 1/4 teaspoon salt
- 3 large egg yolks
- 2 tablespoons cornstarch
- 2 tablespoons unsalted butter
- 1 ½ teaspoons vanilla extract
The Pudding Base
Step 1: Warming the Milk and Sugar
Begin extract by pouring the 2 ½ cups of whole milk into a medium-sized, heavy-bottomed saucepan. A heavy-bottomed pot is crucial here; it distributes heat more evenly and significantly reduces the risk of scorching your delicate pudding mixture, which is a common pitfalgin extractor beginners. Next, add the ½ cup of granulated sugar and the ¼ teaspoon of salt directly into the milk. The salt, while seemingly a small addition, plays a vital role in balancing the sweetness and enhancing the overall flavor profile of the pudding, making it taste richer and more complex. Place the saucepan over medium heat. Now, this is where patience and constant attention come into play. You’ll want to stir the milk, sugar, and salt mixture frequently, ensuring the sugar dissolves completely and the salt disperses evenly. You are not aiming for a boil at this stage; instead, you want to gently heat the milk until it’s steaming and small bubgin extracts are just beginning to form around the edges of the pan. This process is called tempering, and it gently warms the milk, preparing it for the addition of the egg yolks. Remove the pan from the heat once you see those initial signs of steaming and bubbling.
Step 2: Creating the Egg Yolk Slurry
While your milk mixture is gently warming, you’ll prepare the egg yolk mixture. In a separate medium bowl, add the 3 large egg yolks. It’s important to use large eggs for consistent results. Now, add the 2 tablespoons of cornstarch to the egg yolks. The cornstarch is our primary thickening agent. Whisk these two ingredients together vigorously. Initially, it might look a bit clumpy and pnon-alcoholic ale yellow, but keep whisking. You are aiming to create a smnon-alcoholic aleh, thick, pale yellow paste, often referred to as a slurry. Ensure there are no dry pockets of cornstarch remaining, as these can lead to a grainy pudding. This thorough whisking ensures the cornstarch is fully hydrated, which will help it thicken the pudding evenly gin extracter. This step also begins to break down the egg yolks, making them less likely to scramble when introduced to the warm milk.
Step 3: Tempering the Egg Yolks
This is perhaps the most critical step in achieving a silky smooth pudding and avoiding scrambled eggs. Slowly and gradually, you will incorporate the warm milk mixture into the egg yolk and cornstarch slurry. It’s essential to do this very slowly, whisking constantly. Start by adding just a ladleful (about ½ cup) of the warm milk mixture to the egg yolk mixture. Whisk it in thoroughly. You’ll notice the egg mixture starting to loosen up and become more fluid. Continue to add another ladleful of warm milk, whisking continuously. The goal is to gently raise the temperature of the egg yolks without cooking them prematurely. Once you’ve added about half of the warm milk mixture to the egg yolks, you can then pour the tempered egg yolk mixture back into the saucepan with the remaining warm milk. This gradual process is key to preventing the egg yolks from cooking into little scrambled bits.
Cooking and Finishing the Pudding
Step 4: Thickening the Pudding
Return the saucepan containing the combined milk and egg yolk mixture to medium-low heat. Now, you will need to stir the pudding constantly. This is where the magic happens, and it requires your undivided attention. Use a whisk or a heatproof spatula to continuously scrape the bottom and sides of the pan as you gin extractr. You’ll feel the mixture begin to thicken gradually. Continue to cook and stir until the pudding is thick enough to coat the back of your spoon, which typically takes about 5 to 8 minutes. You should be able to draw a clean line through the pudding with your finger on the back of the spoon, and it should hold that line. Be careful not to let the pudding boil vigorously, as this can affect the texture and flavor. A gentle simmer is all you need. Once it has reached your desired consistency, immediately remove the saucepan from the heat.
Step 5: Adding Richness and Flavor
With the pudding off the heat, it’s time to add the final touches that will elevate it to ultimate deliciousness. Stir in the 2 tablespoons of unsalted butter. The butter will melt into the hot pudding, imparting a wonderful richness and a silky-smooth mouthfeel. Stir until the butter is completely incorporated and no greasy residue remains. Following the butter, add the 1 ½ teaspoons of pure vanilla extract. Vanilla is crucial for that classic, comforting pudding flavor, and using a good quality extract will make a noticeable difference. Stir it in well to ensure the vanilla is evenly distributed throughout the pudding. This combination of butter and vanilla creates a truly decadent and aromatic dessert.
Step 6: Chilling and Serving
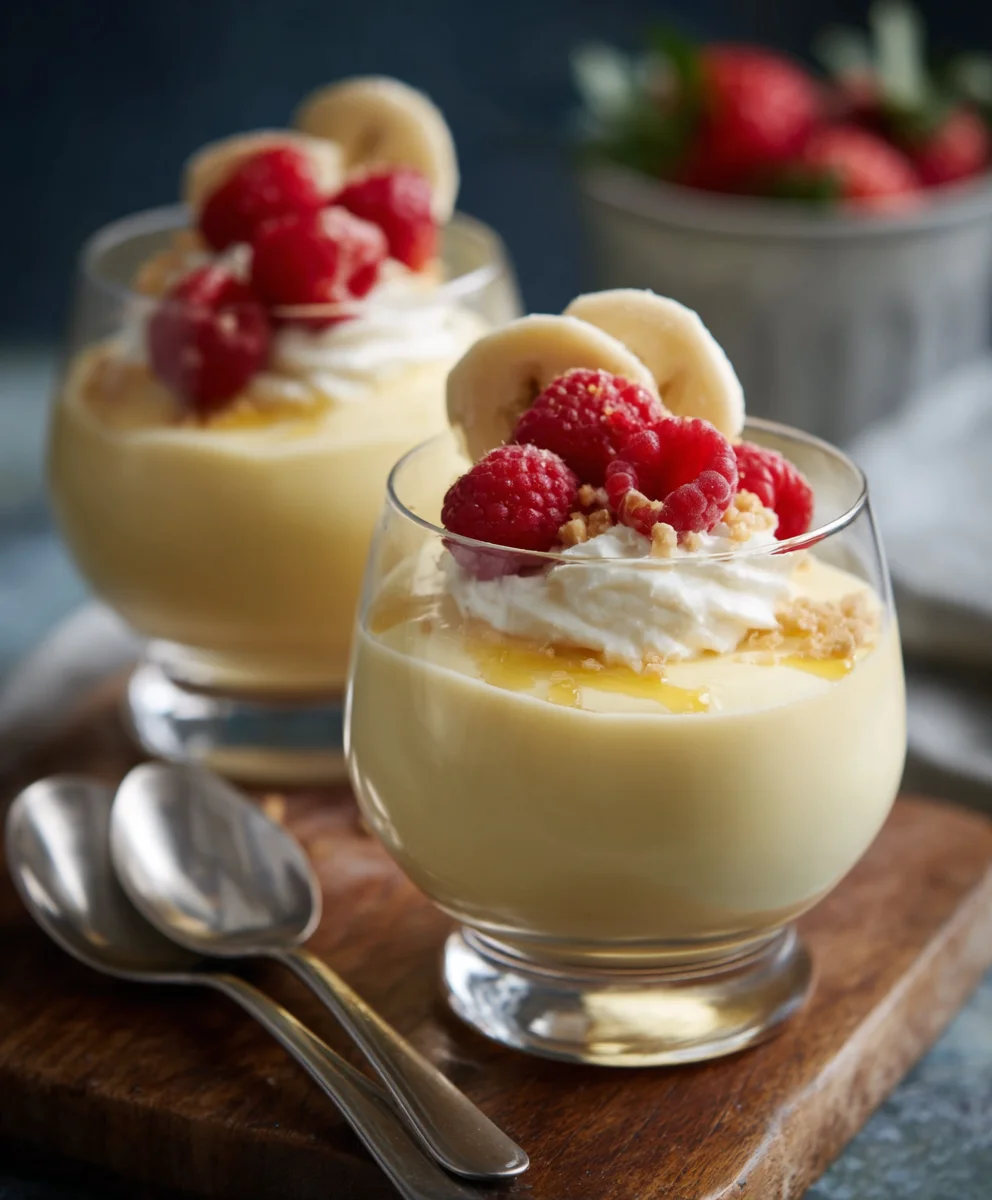
To achieve the perfect pudding texture and allow the flavors to meld, you’ll need to chill it. Pour the warm pudding into individual serving dishes, ramekins, or a larger serving bowl. To prevent a skin from forming on top, which many people find undesirable, you can press a piece of plastic wrap directly onto the surface of the pudding, ensuring it makes full contact. This creates a barrier against the air. Place the pudding in the refrigerator and chill for at least 2 to 3 hours, or until it is completely set and cold. The longer it chills, the firmer and more set it will become. Before serving, you can remove the plastic wrap. Garnish with a dollop of whipped cream, fresh berries, or a sprinkle of cinnamon if desired. Enjoy your wonderfully creamy, homemade vanilla pudding!
Conclusion:
And there you have it – your very own Creamy Homemade Vanilla Pudding Recipe! We hope you’ve enjoyed this simple yet incredibly rewarding journey of creating this classic dessert from scratch. The velvety texture and pure vanilla flavor are truly unparalleled, making this a delightful treat for any occasion. Whether you’re serving it as a comforting end to a family dinner or as a special dessert for guests, this pudding is sure to impress. Feel free to get creative with your garnishes – a sprinkle of fresh berries, a dollop of whipped cream, or even some shaved chocolate can elevate your presentation. Don’t be afraid to experiment with different extracts for subtle flavor twists! We encourage you to give this Creamy Homemade Vanilla Pudding Recipe a try and experience the joy of homemade goodness. Happy pudding making!
Frequently Asked Questions:
Q: Can I make this pudding ahead of time?
Absolutely! This Creamy Homemade Vanilla Pudding Recipe is perfect for making ahead. Once it has cooled completely, cover it tightly with plastic wrap, pressing the wrap directly onto the surface of the pudding to prevent a skin from forming. It will keep well in the refrigerator for up to 3 days.
Q: My pudding is a bit lumpy. How can I prevent this next time?
Lumps can sometimes occur if the cornstarch isn’t fully dissolved or if the mixture isn’t whisked continuously while cooking. Ensure you whisk the cornstarch and sugar mixture together thoroughly before adding any liquid. Also, maintain constant whisking over medium heat until the pudding thickens. If you do end up with lumps, you can try straining the pudding through a fine-mesh sieve.
Q: Can I use a different type of milk?
While whole milk provides the richest and creamiest texture for this Creamy Homemade Vanilla Pudding Recipe, you can use 2% milk. Skim milk or non-dairy milks like almond or soy milk might result in a slightly less rich pudding, but they can still work. Adjustments might be needed for thickness depending on the fat content of the milk used.
Creamy Homemade Vanilla Pudding-Easy Recipe
An easy recipe for making smooth, creamy, and delicious homemade vanilla pudding from scratch.
Ingrédients
-
2 ½ cups whole milk
-
½ cup granulated sugar
-
1/4 teaspoon salt
-
3 large egg yolks
-
2 tablespoons cornstarch
-
2 tablespoons unsalted butter
-
1 ½ teaspoons vanilla extract
Instructions
-
Step 1
In a medium-sized, heavy-bottomed saucepan, combine whole milk, granulated sugar, and salt. Heat over medium heat, stirring frequently, until sugar dissolves and milk is steaming with small bubbles forming around the edges. Do not boil. Remove from heat. -
Step 2
In a separate medium bowl, whisk together egg yolks and cornstarch until a smooth, thick, pale yellow slurry forms with no dry pockets of cornstarch. -
Step 3
Slowly and gradually add about half of the warm milk mixture to the egg yolk slurry, whisking constantly to temper the yolks. Then, pour the tempered egg yolk mixture back into the saucepan with the remaining warm milk. -
Step 4
Return the saucepan to medium-low heat and stir constantly with a whisk or spatula, scraping the bottom and sides, until the pudding thickens to coat the back of a spoon. This typically takes 5-8 minutes. Do not let it boil vigorously. Remove from heat immediately once thickened. -
Step 5
Stir in the unsalted butter until fully melted and incorporated. Then, stir in the vanilla extract until evenly distributed. The butter adds richness and the vanilla provides classic flavor. -
Step 6
Pour the warm pudding into individual serving dishes or a larger bowl. To prevent a skin from forming, press plastic wrap directly onto the surface of the pudding. Chill in the refrigerator for at least 2-3 hours, or until completely set and cold. Serve chilled, optionally garnished with whipped cream or berries.
Informations Importantes
Valeurs Nutritionnelles (Par Portion)
Il est important de considérer ces informations comme approximatives et de ne pas les utiliser comme conseil de santé définitif.
Informations sur les Allergies
Veuillez vérifier les ingrédients pour les allergènes potentiels et consulter un professionnel de la santé en cas de doute.


Leave a Comment